

Good

Max Davies
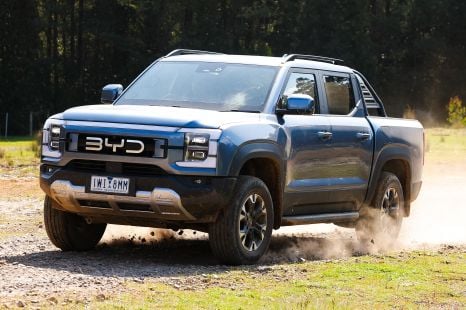
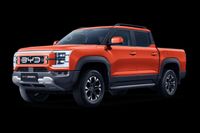
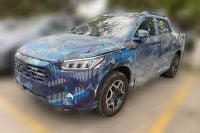
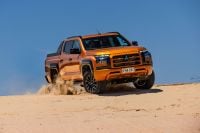
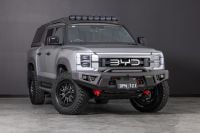
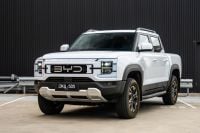
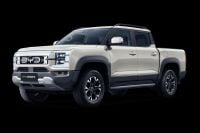
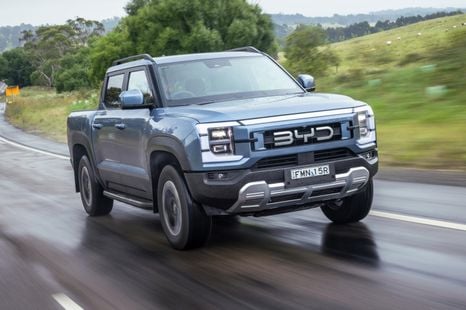
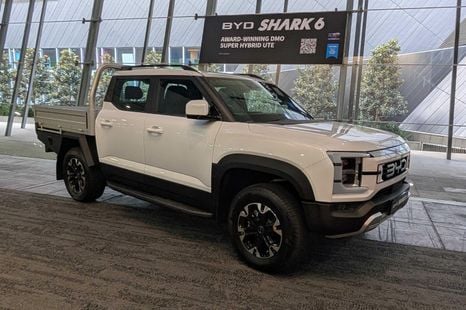
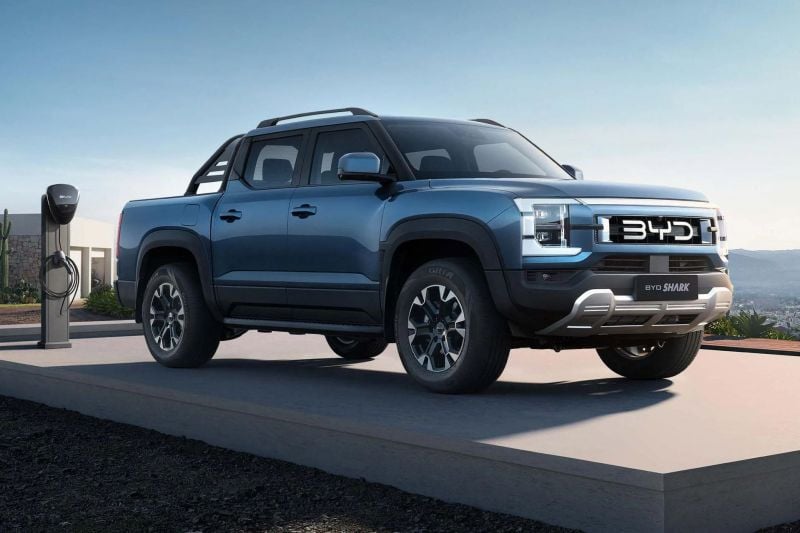
2025 BYD Shark 6 review
The BYD Shark is Australia's most popular PHEV ute and it's easy to see why, but some rough edges still hold it back.
Pros
- Strong value proposition versus rivals
- Interior feels high-quality
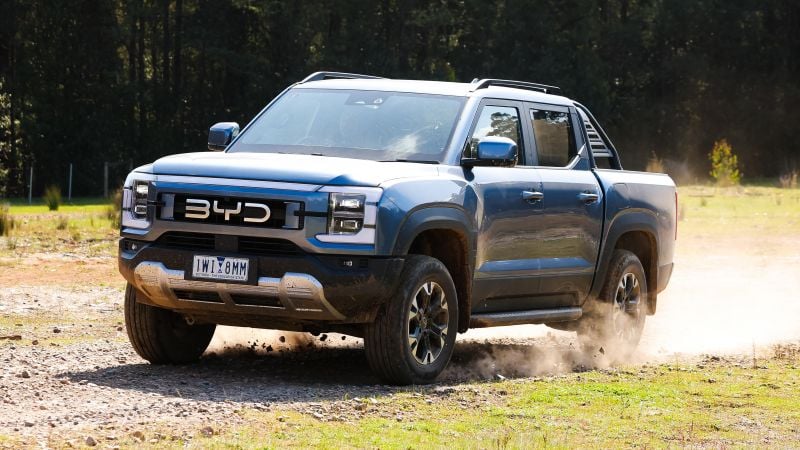
- Exceptionally smooth and comfortable on-road...
Cons
- ...but it's a bit of a pavement princess
- Too much throttle hang
- 1.5-litre engine is underpowered
8 Months Ago